Changes to charging station settings can, in the worst case, lead to danger, charging errors, loss of communication, increased costs and any other unfortunate errors and operating situations.
Zaptec application instructions
How do I use the ZAPTEC App?
ZAPTEC App is a combination of user interface for using our charging stations, and a tool for setting up and configuring our charging stations.
These two (2) user roles are separated in the ZAPTEC App with the use of a PIN code, so that there is a clear distinction between the user function and changing the charging station settings (security).
In the vast majority of cases, there is NO need to change the charging station's settings, as this is performed by the installer during installation & installation of the charging station.
Important
Skip to the section that best suits:
- I am a user of the charging station (eg start of charging in a common charging system in Housing company)
- I am an owner of the charging station (eg HOME charging station)
- I'm an installer of the charging station
Alternatively, you can jump to one of these sections:
What are the different menus in the ZAPTEC App?
The ZAPTEC App has 3 main menus: Home, Chargers and Account. Home, Chargers and Account.

Home is your personal overview of charging consumption and history. If you have authenticated yourself to a charging station to start charging, or if you have a role on your charging station (s) (managed in ZAPTEC Portal).

Chargers are action choices that can be performed against a charging station and / or ZAPTEC device such as, for example, ZAPTEC APM.

Account is your user profile here you can see an overview of your charging stations and registered RFID & NFC charging cards.
ZAPTEC App download, availability and device requirements
ZAPTEC App
available in both AppStore (iOS) & GooglePlay (Android OS)


Android OS
Requirements: Android version 8.0 and higher
Compatible with: Most devices that support native Android version 8.0 and higher
Language support: Norwegian Bokmål * and English *
* Based on device language settings
iOS
Requirements: iOS 11.0 or higher
Compatible with: iPhone & iPad
Language support: Norwegian Bokmål * and English *
* Based on device language settings
Create new user profile
If you have registered a user profile in the ZAPTEC Portal, then you only have to log in with the same user login in the ZAPTEC App (same user database).
To get started with the ZAPTEC App, you must have a registered user profile. It's completely free, so you only need a valid email address.
If you have received an access invitation by e-mail from your installer or plant owner, complete the registration by clicking on the activation link in the e-mail. Then use your login details, use name (email) and self-selected password.
Step-by-step guide - Create user profile in ZAPTEC App
- Download the ZAPTEC App in the AppStore (iOS) or in GooglePlay (Android OS)
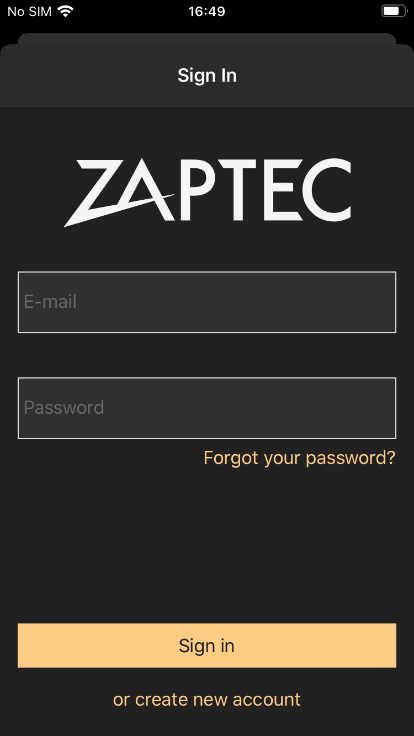
- Open the ZAPTEC App on your device
- Click Create New Account (bottom)
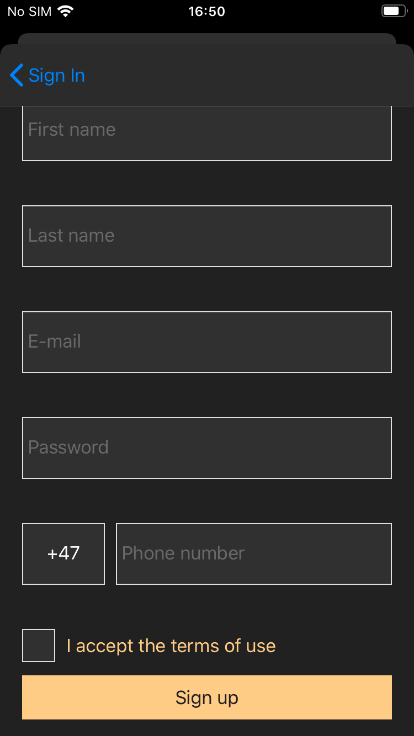
- Fill out the form, tick Terms of Use and press Sign up
- Click on the registration link received at your registered e-mail address.
No e-mail? Check clutter, other, spam folders.
Sender is: zapcloud@zaptec.com (no-reply email address) - Log in with your user profile (email address) and selected password
Home
This is your personal overview of charging consumption and history.
If you have authenticated yourself to a charging station to start charging, or if you have a role on your charging station (s) (managed in ZAPTEC Portal).
For example, Home will look like this:

If your Home looks like this:
![]()
It can indicate one or more scenarios:
- Your user profile has not previously performed any charging sessions on a charging station
- Your user profile has not been added with access to your installation / charging station in ZAPTEC Portal
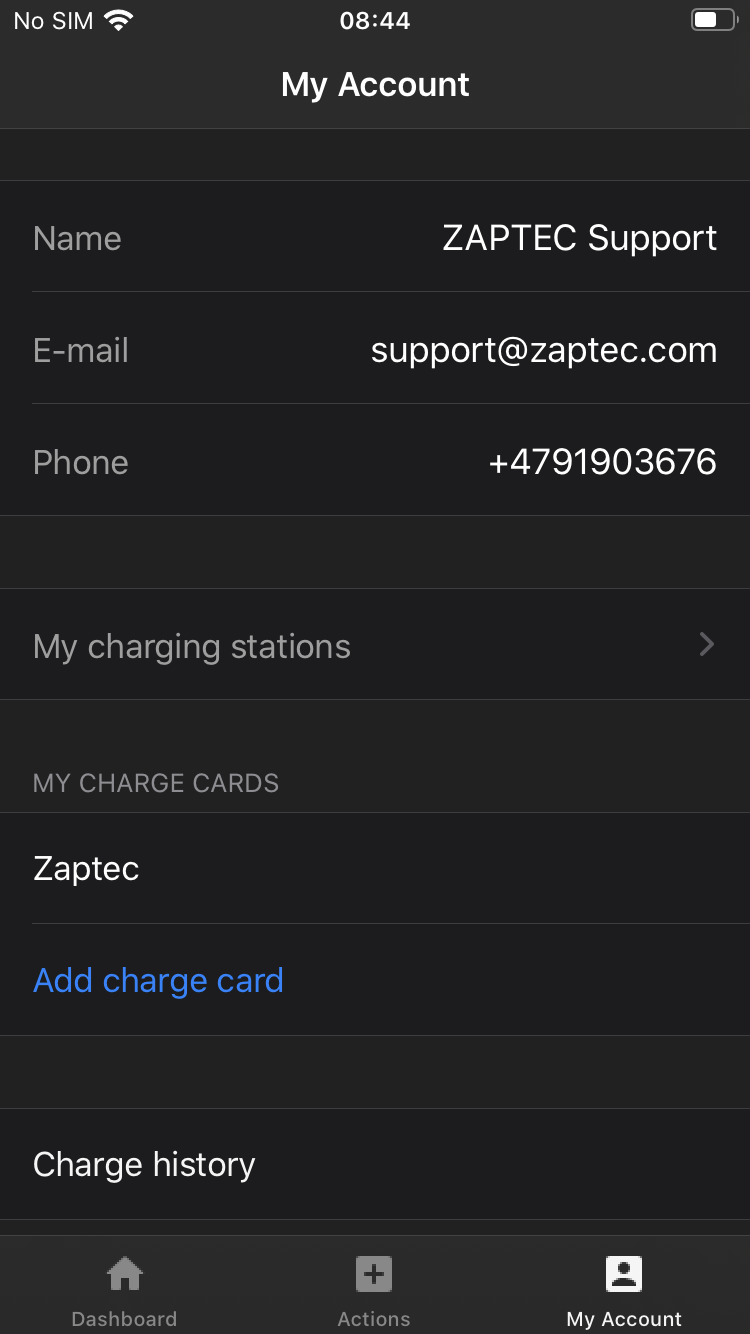
Account
In your user profile you will have an overview of your:
- User details
- Your charging stations
- Your charging cards (RFID & NFC)
- Shortcut to add new charging cards (RFID & NFC)
- Charging history (via ZAPTEC Portal)
- Logout of the ZAPTEC App
- App version
Chargers
To perform actions, you must be physically close to a ZAPTEC charging station / device, as communication between the ZAPTEC App and the ZAPTEC charging station / device takes place via Bluetooth.
Info
If charging has started in the ZAPTEC App and is ongoing, the Home view will show ongoing charging via WiFi or 4G connection from your device (mobile), so you can follow without being around.
This also applies to charging stations where your user profile has an ownership role on the relevant charging station.
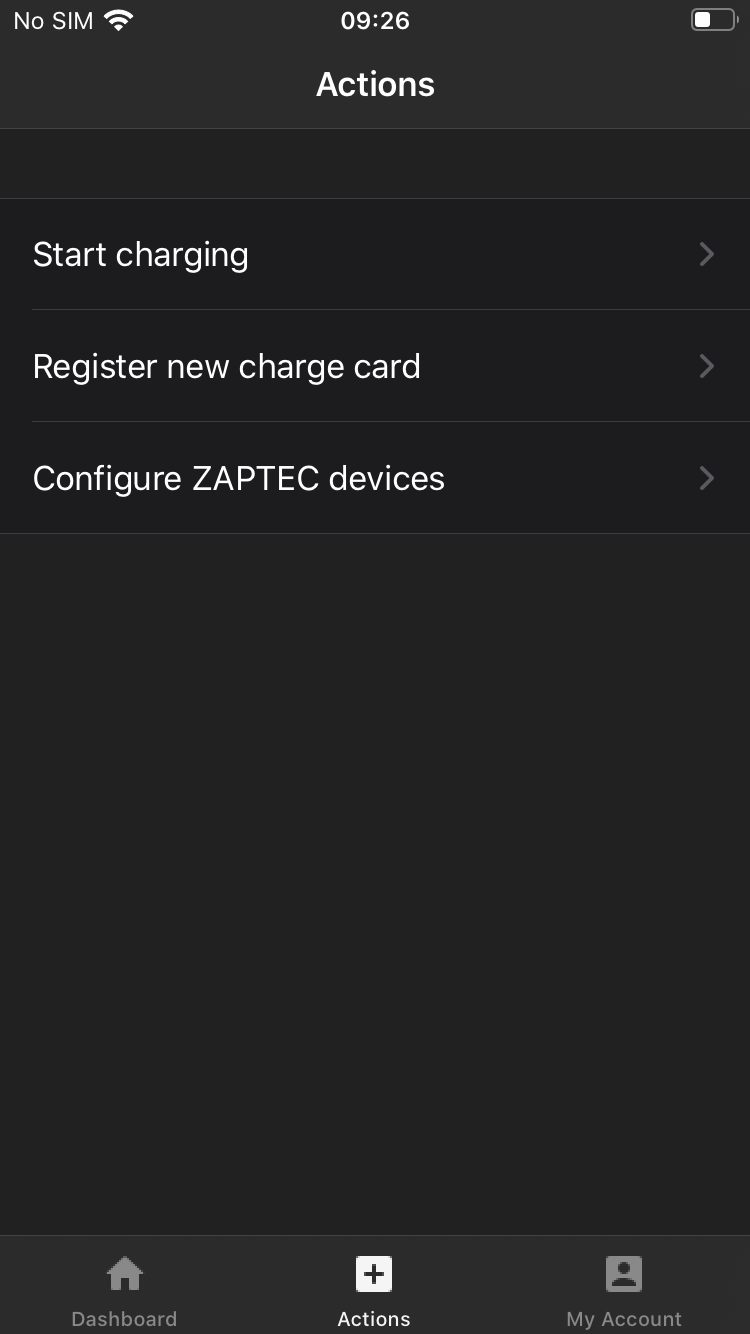
Start charging
Starting charging via the ZAPTEC App requires the following prerequisites:
- You are physically close to the charging station you want to start charging with
- User profile in ZAPTEC App has access to charge on the current charging station (s).
- The charging station is not actively in use and / or connected with a charging cable for vehicles
- Tap Chargers

- Press Start charging

- The ZAPTEC App will now scan over via Bluetooth for available charging stations
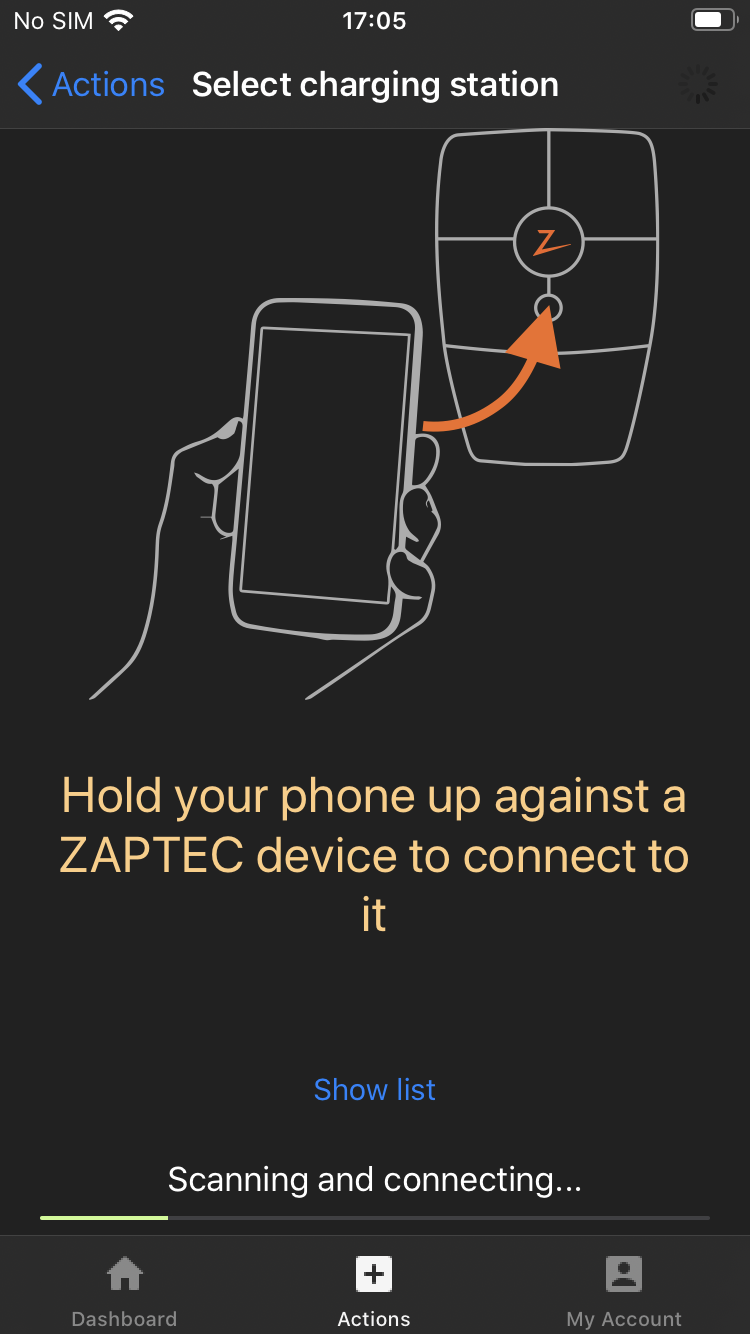
- Select Charging station in the list that you want to start charging with. The charging station that has the best signal strength on Bluetooth will be at the top of the list.
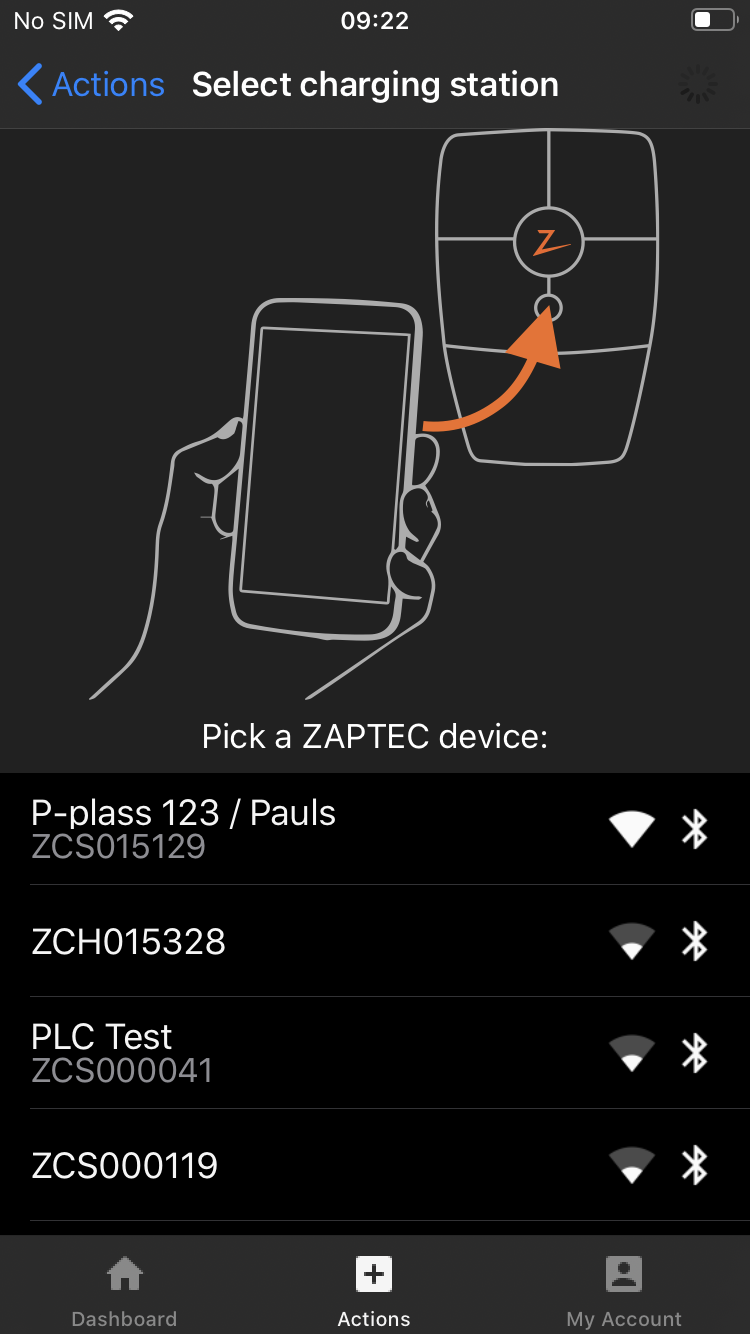
- Selected charging station in the list will INDICATE WHITE in Status indicator (Z) on selected charging station
Wrong charging station? Go back in by pressing
- Follow Instructions
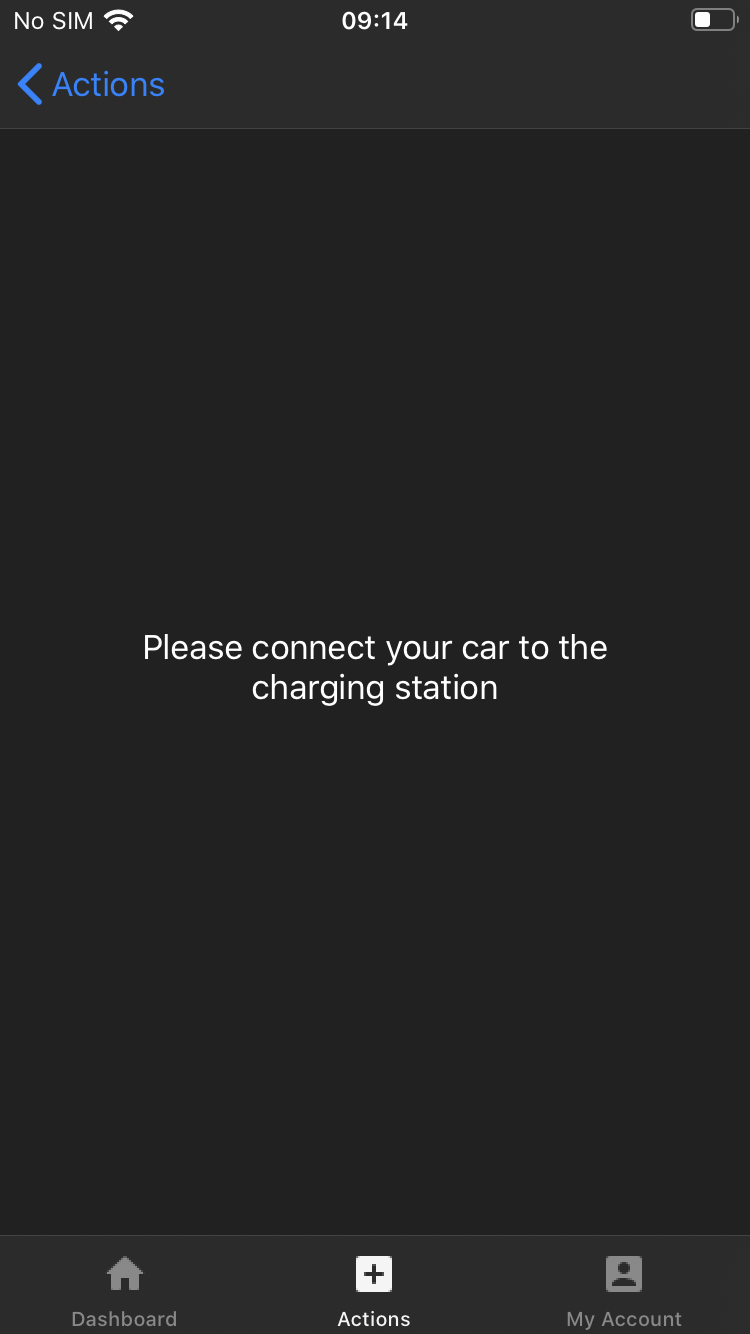
- Charging will now start and viewing will be available for viewing in the Home
Register RFID charging card
The easiest way to register one / several RFID charging cards against your user profile is to use the ZAPTEC App against a charging station, so that you can use the RFID & NFC reader inside the charging station to register your desired RFID & NFC charging card.
Important information:
- Charging chip and / or charging card are registered against your user profile.
- Charging chip is NOT registered at the charging station directly
- Access to charging at the current charging station (s) is performed in: The administration tool ZAPTEC Portal
To add a charging chip or charging card to your user profile, you need:
- ZAPTEC App
- Charging station that is online with active internet connection
- Charging chip / Charging card that supports MiFare Classic type A (the most common RFID type)
- Charging chip / Charging card that supports NFC (Near Field Communication), e.g. VISA card
( Amounts are NOT deducted from payment cards registered as Charging Cards, and the NFC chip is used in the card)
There are NO limits on the number of RFID & NFC Charging Cards / Charging Cards you can register for your user profile, and you can also use several different types and suppliers:
VISA card, Mastercard, Employee card, Garbage card etc. which has the RFID / NFC symbol on it
Step-by-step guide on how to register an RFID & NFC charging card:
- Tap Chargers
- Press Register new charge card

- 3. The ZAPTEC App will now scan over Bluetooth via available charging stations
- Select charging station that wants to register Charging chip / Charging card against.
- Selected charging station in the list will INDICATE WHITE in Status indicator (Z) on selected charging station.
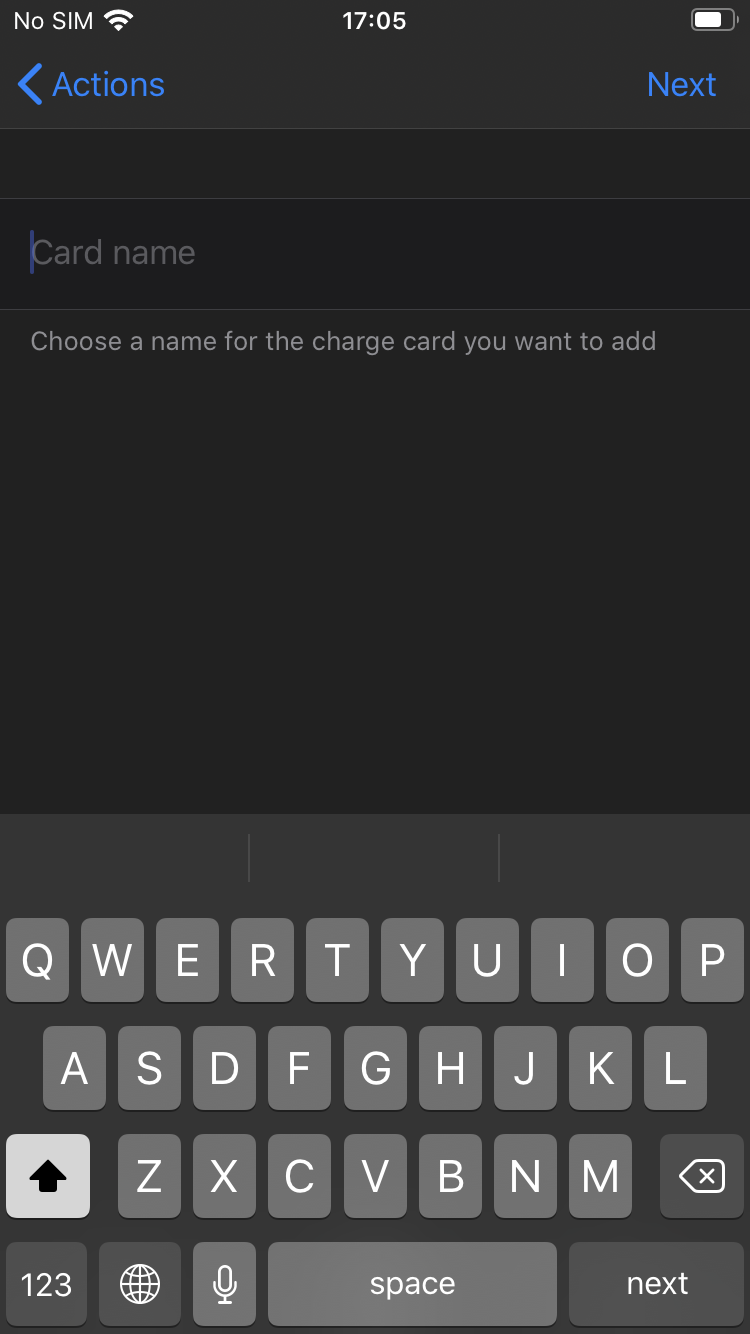
Wrong charging station? Go back in by pressing - Enter the desired name for the Charging Chip / Charging card
Tip: When using a VISA card, enter the VISA card.
Then it is easy to keep track of your Charging Chip / Charging Cards
- Now the charging station will FLASH INDICATION in the Status Indicator (Z) that you have 15 seconds to hold the Charging Chip / Charging Card next to the RFID & Scanning area:

Important
If you have several RFID charging chips on the same set of keys
Keep a good separation during the registration process, so that the desired Charging chip / Charging Card is registered.
- When you hold the desired Charging Chip / Charging Card up to the RFID zone, the information is uploaded
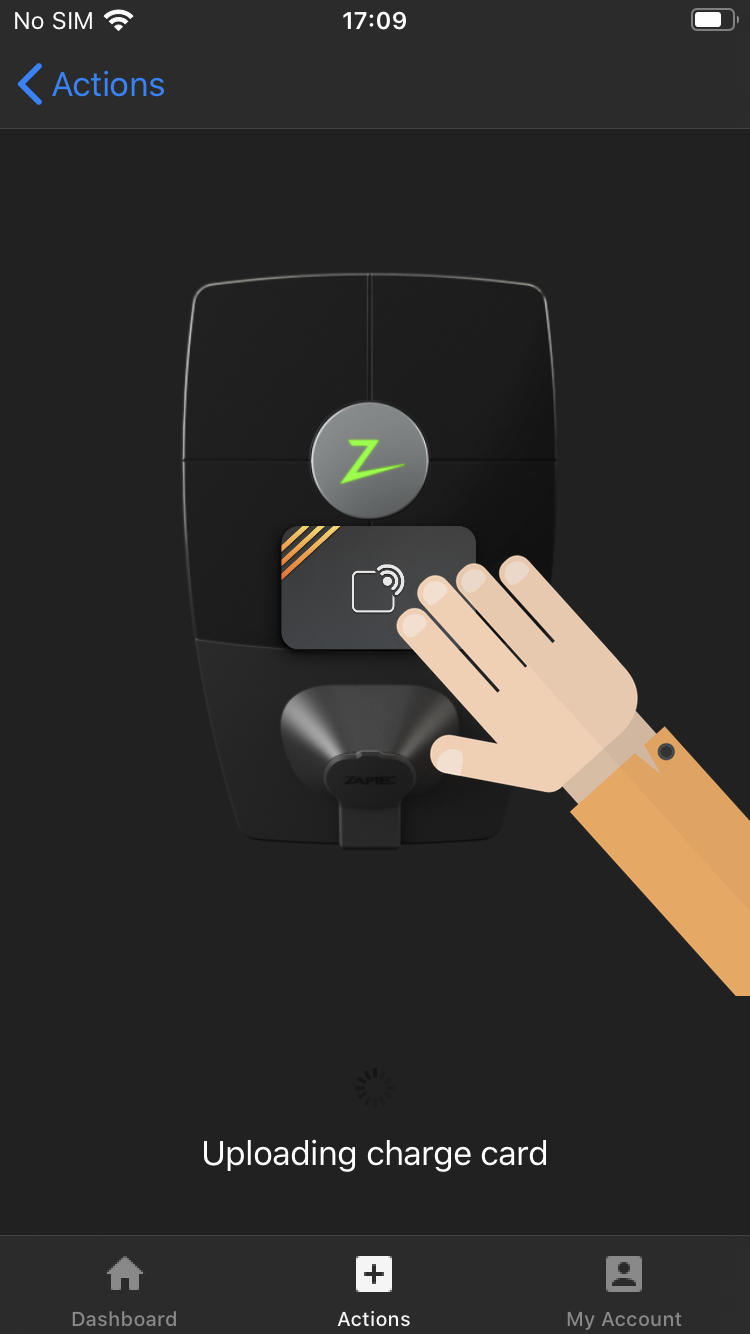
- Approved Charging Chip / Charging Card will display this message

- Registration process is now completed
Now your Charging Chip / Charging Card will be available in your user profile. And is ready to be used to start charging after the charging cable is connected to the vehicle and charging station.
- To add more Charging Chips / Charging Cards, you can tap the Add charge card directly in your user profile which begins the registration process from step 3 to step 10 as described above.
In case of errors, timeouts and other messages:
If the message below is displayed in the ZAPTEC App during the registration process: Then you have not held the Charging Card / Charging Card until RFID Zone within 15 seconds
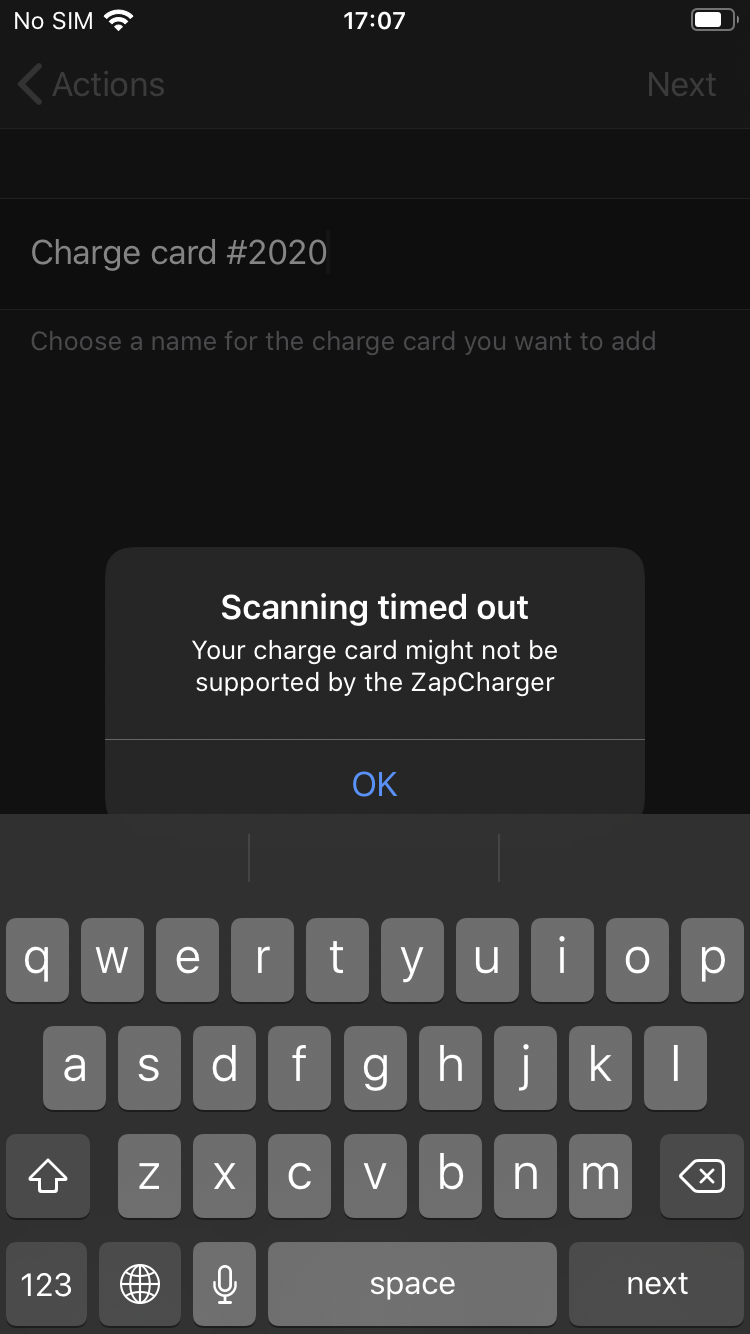
Solution: Press OK in the message window and start the process again
Setup and configuration of ZAPTEC devices
Performed by the installer during installation of the charging station.
Thus, in the vast majority of cases, there should be NO need to perform this action.
Exception:
- Setup and configuration of ZAPTEC APM for ZAPTEC HOME owners who have ordered a PREMIUM Subscription.
- Change of setup and configuration of network solution at customer
- Retrofitting of a new charging station on the customer's charging system